We set up a few hundred Firesticks a month for customers over WhatsApp, and the same pattern repeats: the installation itself takes about six minutes, and the thing that ruins the experience afterwards is never the installation — it is one wrong toggle in the player, or a stick that has been running for eight months without a restart. So this guide does both halves. First the sideload, then the tuning nobody tells you about.
What you need before you start
Four things. Your Firestick connected to the TV and to Wi-Fi, an Amazon account already signed in, your IPTV credentials from your provider, and about ten minutes without anyone asking for the remote.
The credentials arrive in one of two formats and it matters which one you have. An Xtream Codes line gives you three pieces: a username, a password and a portal URL that looks like http://line.example.net:8080. An M3U line gives you a single long link ending in get.php?username=…. Xtream is the better option wherever the player supports it, because it pulls the channel list, the catch-up archive and the on-demand library as separate, browsable sections instead of one endless flat list. If your provider sent you both, use Xtream.
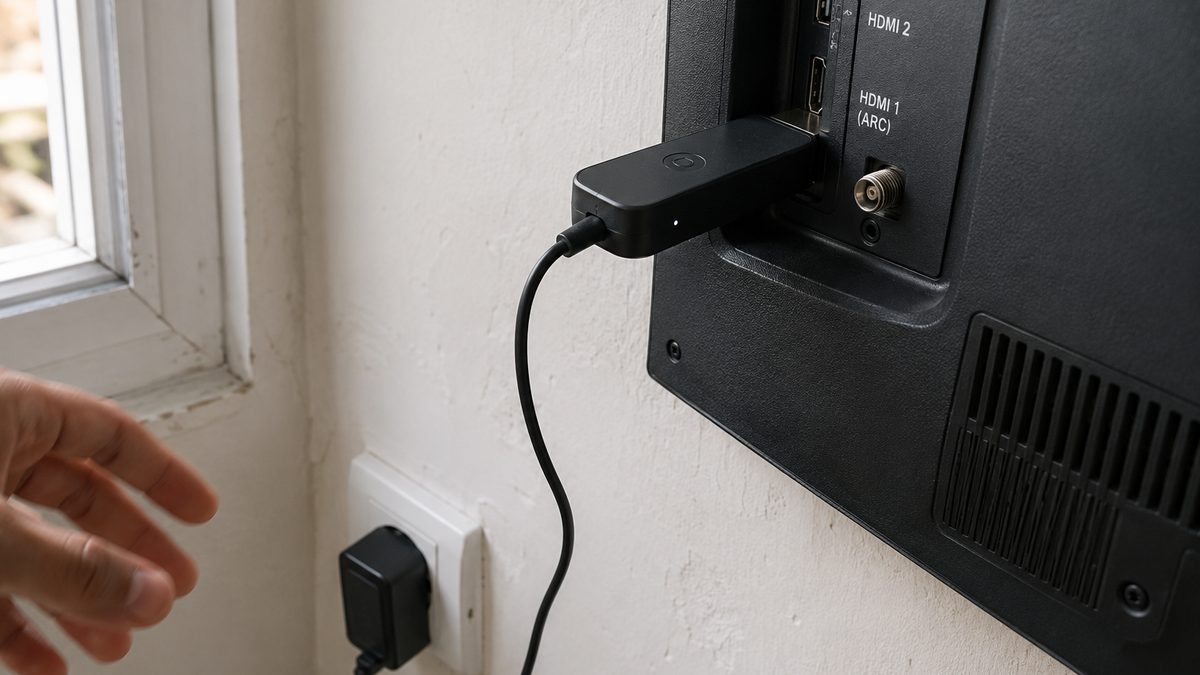
Before anything else: plug the stick into the mains adapter that came in the box. Powering it from a TV USB port is the single most common cause of a Firestick that reboots halfway through a match. The port simply cannot supply what the stick draws while it is decoding a high-bitrate stream.
Step 1 — turn on app installation
Amazon hides this setting because it does not want casual users sideloading anything. On current Fire OS builds the path is:
- From the home screen, open Settings — the gear on the far right of the top row.
- Go to My Fire TV, then Developer Options.
- If you do not see Developer Options, go back to About, highlight your device name and click it seven times. A counter appears, and the menu unlocks.
- Inside Developer Options, switch ADB Debugging on if it is offered, then open Install unknown apps.
- Find Downloader in that list and turn it On. If Downloader is not installed yet, do step 2 first and come back here.
On the newest sticks Amazon renamed the toggle to Apps from Unknown Sources and put it directly under Developer Options. Same thing, different label. Turning it on does not weaken the device in any meaningful way — it only means the stick will accept an installer that did not come from Amazon’s store.
Step 2 — install Downloader
Downloader is a free, legitimate app published by AFTVnews and it sits in the official Amazon Appstore. It exists for exactly this purpose: fetching an installer file from a web address and running it.
Hold the microphone button on the remote and say “Downloader”, or search for it from the magnifying glass. Install it, open it once, and accept the permission prompt that asks for access to storage. On first launch it may also ask to be allowed to install other apps, which is the same toggle described in step 1.
Some people prefer the Send files to TV app, or ADB from a laptop. Both work. Downloader is simply the fastest route when the only input device in the room is a Fire TV remote.
Step 3 — sideload your IPTV player
Now choose the player. On a Firestick there are three sensible answers, and your choice should depend on how you watch rather than on which app has the longest feature list.
| Player | Best for | Cost | Notes |
|---|---|---|---|
| IPTV Smarters Pro | First-time users | Free | Simplest interface, built-in VOD sections, Xtream login in three fields. |
| TiviMate | Heavy live-TV viewers | Free / Premium | Best EPG and channel-group handling; recording and multi-playlist need Premium. |
| IBO Player | Older or slower sticks | Small one-off fee | Very light on memory, activates with a device key rather than a login. |
Ask your provider for the current download address for the player you picked — a serious provider keeps a hosted copy and will send it to you in one message. Open Downloader, select the URL field, type the address, and press Go. The file downloads, the installer opens, you press Install, and thirty seconds later the app is on your home screen.
When the install finishes, choose Delete on both prompts. That removes the installer file, not the app, and keeps the stick’s small storage free.
Step 4 — add your line
Open the player and accept the terms screen. Then, using IPTV Smarters as the example:
- Choose Login with Xtream Codes API.
- Any name — whatever you want the profile called, for example “Living room”.
- Username and Password — exactly as sent, capitals included.
- Server URL — the full portal address with http:// and the port number, and nothing after the port.
- Press Add User and wait. The first load pulls tens of thousands of entries and takes anywhere from twenty seconds to two minutes.
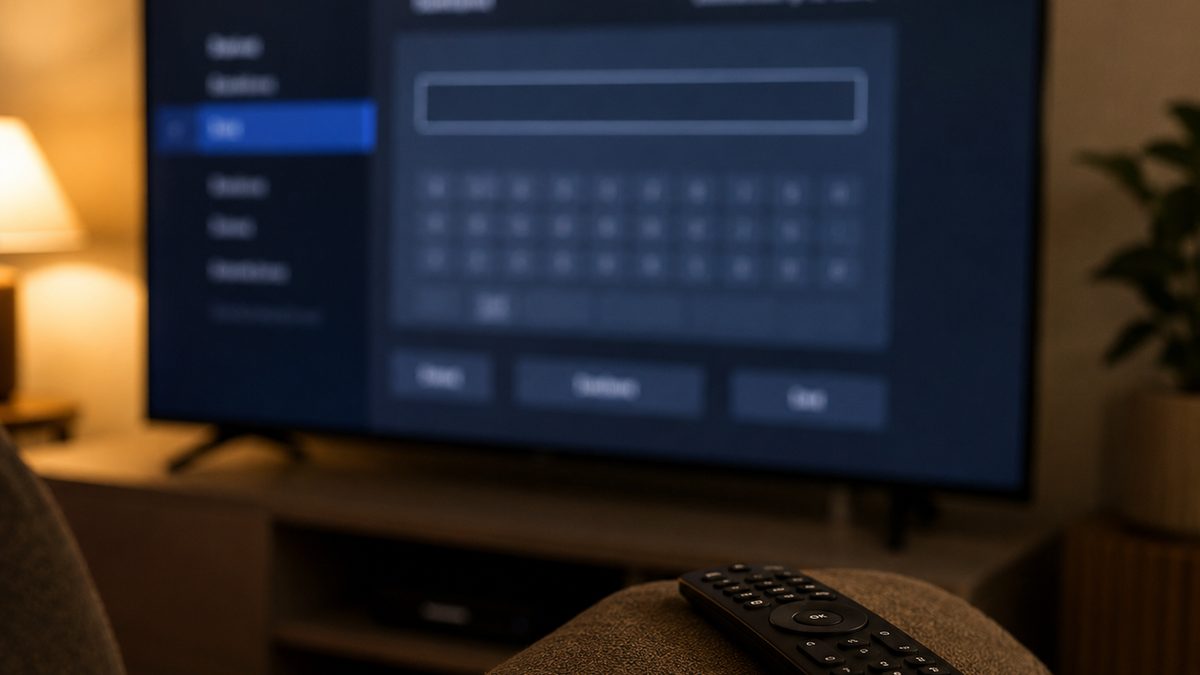
If you have an M3U line instead, pick Load Your Playlist or File/URL and paste the whole link in one go. The trap here is the on-screen keyboard: it loves to insert a capital letter at the start and to autocorrect halfway through. Turn autocorrect off in the keyboard settings, or better, install the Fire TV remote app on your phone and type with a real keyboard.
Step 5 — the settings that stop stutter
This is the part that separates a stick people love from a stick people complain about. Five settings, all inside the player, all worth the two minutes.
Decoder
Set it to hardware, labelled HW or HW+. The Fire TV chip decodes H.264 and H.265 in dedicated silicon; software decoding pushes the same work onto a small CPU that will thermal-throttle within twenty minutes. On a first-generation Lite, if HW+ shows green artefacts on a handful of channels, drop those specific channels to HW.
Buffer size
Three to five seconds. A one-second buffer changes channels beautifully and collapses the moment your Wi-Fi hiccups. Anything above eight seconds makes zapping feel broken. Five is the safe default for a home connection shared with phones and a console.
Auto-start
Turn it on so the player launches with the TV. It removes two remote presses from every session and, more usefully, it means the app is warm rather than cold-loading the playlist while someone is waiting for kick-off.
EPG refresh
Set the guide to refresh once every 24 hours, overnight. Refreshing on every launch delays the channel list for no benefit, and a good provider only republishes the guide a couple of times a day anyway.
Favourites
Build a favourites list of fifteen to twenty channels on day one, and include one lower-quality variant of each channel you care about most. When the network is having a bad evening, that FHD fallback is the difference between watching the match and arguing with support about it.
The five-minute version
- Power the stick from the wall adapter, never the TV’s USB port.
- Developer Options → allow apps from unknown sources → install Downloader.
- Sideload IPTV Smarters, TiviMate or IBO Player from your provider’s link.
- Log in with Xtream Codes rather than M3U wherever possible.
- Hardware decoder, 3–5 second buffer, auto-start on, favourites built.
Which Firestick model should you buy?
If you already own one, use it — every model from 2019 onwards handles IPTV fine once it is set up correctly. If you are buying, the differences are real but smaller than the marketing suggests.
| Model | Max output | RAM | Verdict for IPTV |
|---|---|---|---|
| Fire TV Stick Lite | 1080p | 1 GB | Works, but tight on memory. Restart it weekly. |
| Fire TV Stick (HD) | 1080p | 1 GB | Same silicon, adds TV volume control on the remote. |
| Fire TV Stick 4K | 2160p | 1.5 GB | The value pick. Handles 4K feeds and heavy EPGs comfortably. |
| Fire TV Stick 4K Max | 2160p | 2 GB | Faster Wi-Fi 6 radio and more headroom. Best choice on a busy network. |
The 4K Max earns its premium in one specific situation: a house with a lot of connected devices and a router that supports Wi-Fi 6. In a quiet flat with a 5 GHz signal in the same room, the ordinary 4K stick is indistinguishable in daily use.
Whichever model you own, one accessory is worth more than any upgrade: an ethernet adapter. It costs about ten dollars, plugs into the stick’s power port and gives it a wired connection. On a marginal Wi-Fi signal it turns a stuttering stream into a stable one without changing anything else.
Common problems and fixes
“App not installed” at the end of the sideload
Almost always storage. A Firestick with less than 500 MB free will refuse to complete an install. Uninstall a couple of apps you never open, clear the cache of the biggest ones from Settings → Applications → Manage installed applications, and try again.
The channel list loads but nothing plays
Your line is valid — the list came from the server, after all — so the failure sits between your network and the stream. Change DNS to 1.1.1.1, restart the stick, and try one channel. If it plays, that was it. If nothing plays on any network, the line may already be at its device limit; check how many connections are in use.
Everything freezes at the same time every evening
That is a congestion signature, not a random fault. Either your ISP throttles streaming traffic at peak hours, or your provider’s node for your region is oversubscribed. Test with a VPN for one evening: if the picture is dramatically better through a VPN despite the extra hop, the throttling is on your ISP’s side. There is a longer walkthrough of that test in the internet speed guide.
The guide is empty or shows the wrong times
Set the time zone manually in the player rather than leaving it on automatic, then force an EPG refresh. Fire OS sometimes reports a time zone that does not match the one your provider publishes the guide in, and every programme lands an hour out.
The stick gets hot and slows down after an hour
Check where it sits. Tucked behind a wall-mounted panel with no airflow, a stick will throttle itself. The short HDMI extender in the box exists precisely to move it out of that pocket of hot air — use it.
Questions people actually ask
No. Enabling app installation from unknown sources is a documented setting inside Fire OS, not a modification of the device. You can switch it back off at any time and the stick keeps receiving normal Amazon updates.
Only if your plan includes more than one simultaneous connection. A single-device line drops the first stream when a second one starts. Extra connections usually cost a few dollars each and are worth it in any household with more than one TV.
Not for the service to work. Many people run one for privacy on their own network, and it can also get around ISP throttling. If you use one, pick a server geographically close to you so you add the least possible latency.
Around six minutes for the install and login, plus another two or three for the playlist to load the first time. Adding favourites and tuning the buffer takes a further five, and it is the best-spent five minutes of the process.
Around 35 Mbps of steady throughput per 4K stream, and stability matters more than the headline number. A consistent 30 Mbps line beats a 200 Mbps line that collapses every evening.
Where to go next
If your stick is running and the picture is good, you are done — leave it alone. If it is running and something is not right, work through the buffering checklist before you change anything else, because nine times out of ten the answer is in there. And if you are still comparing providers, the buyer’s guide covers what actually predicts a stable line six months from now.
Related reading: Internet speed for IPTV · Best IPTV player apps · All device guides